Even your art studio is a constant Work In Progress (W.I.P)
As always we have to start somewhere when coming back to a work of art that is ongoing; such is the state of an artist's art studio.
No matter what your skill level of art or creative expression where you work is your studio, and whatever you're working on is that which is in constant flux. It's a veritable WIP - or Work In Progress!
And whatever you may be working on is usually begun (or in this artist's humble opinion - should be) with a sketch. This week let's presume this sketch you've been working hard on is of a person.
By the way - fear not. This IS a Tuesday How-To sketchblog, however it is a deep enough concept that today's and tomorrow's sketchblog really will work together to share how a WIP can impact Friday's figure art, which may turn into the stuff of Thursday's three dimensional composition.
Sketching a person from a blank page to a fully inked illustration can seem daunting, but with the right process, it becomes a rewarding journey. In this How-To Tuesday post, we’ll guide you through the creative stages, applying the philosophy of the “8 Limbs of Sketchbooking” to take your artwork from loose painterly blobs to a crisp, inked masterpiece.

Limb 1: Conceptualization (The Blank Page)
Every great sketch starts with an idea. Begin by visualizing your subject: Who are they? What’s their pose? What emotion do you want to convey? Jot down quick notes or keywords to capture the essence before you make a mark.
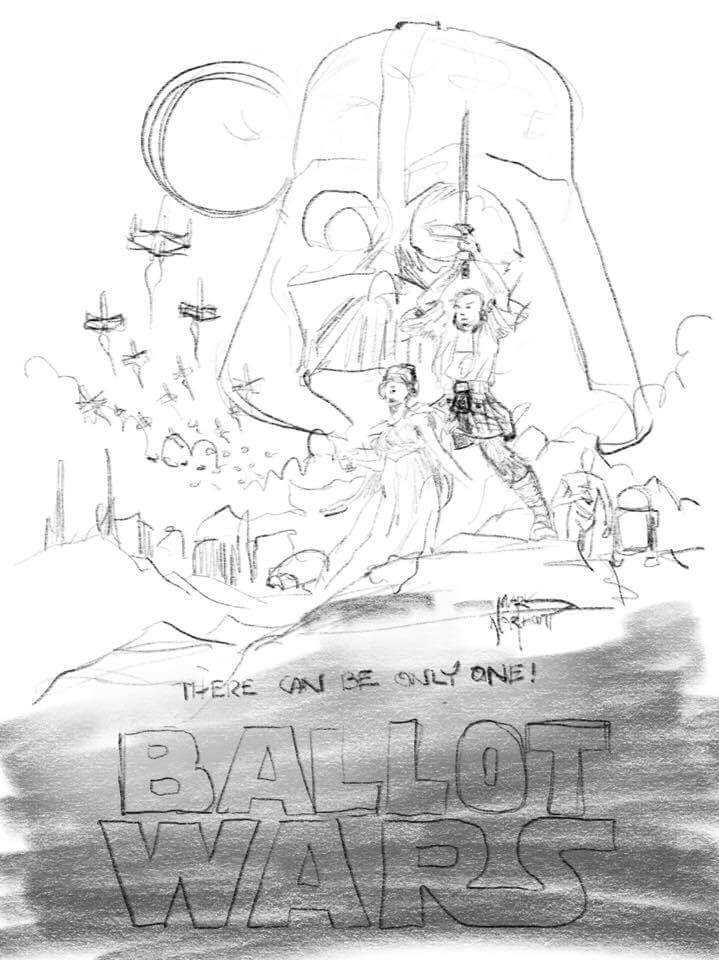
Limb 2: Rough Forms (Painterly Blobs)
Start sketching with large, loose shapes using a soft pencil or digital brush with low opacity. Think of these blobs as a gesture that captures the overall form and movement. Don’t worry about accuracy—focus on the energy and flow. Use wide, sweeping motions to place the head, torso, and limbs.
Limb 3: Structure and Proportion (Guiding Shapes)
Refine your blobs by adding basic anatomical landmarks. Lightly sketch the head shape, torso oval, and limb cylinders. Ensure the proportions feel balanced and natural, and make adjustments if something feels off. The goal here is to create a skeleton for your figure.
Limb 4: Defining Forms (Block-In)
Using your rough structure, begin to carve out the figure’s form. Introduce basic shapes like cubes and cylinders to give volume and depth. At this stage, you’re solidifying the foundational anatomy without diving into details. Make sure the figure’s weight distribution feels grounded.
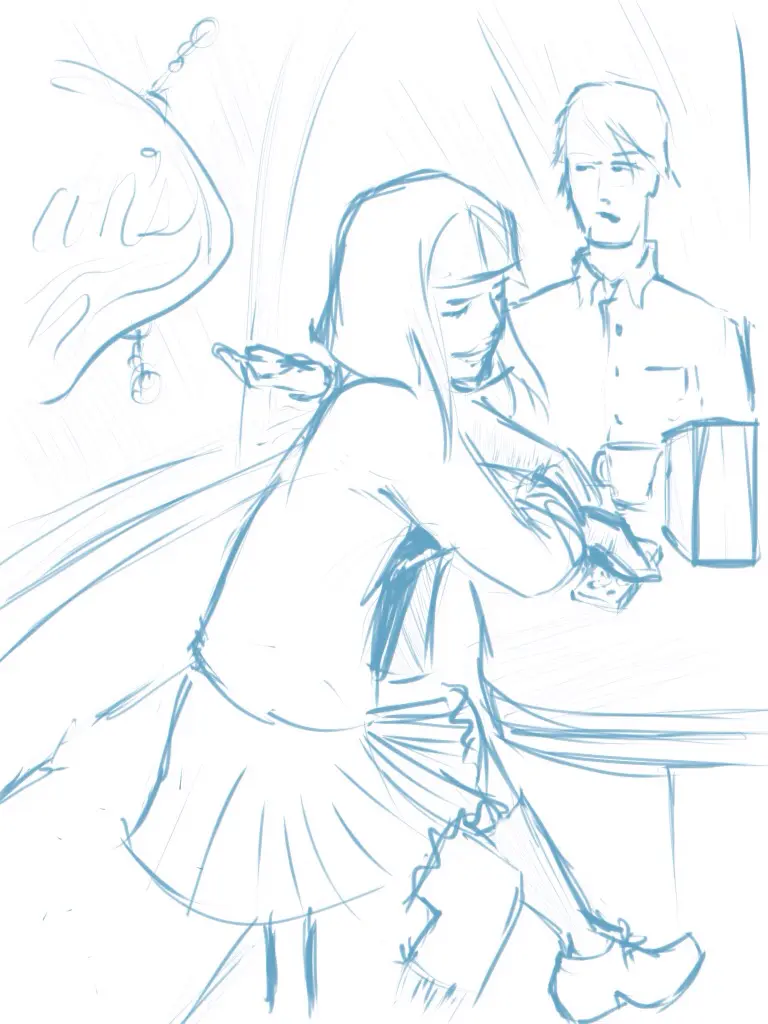
Limb 5: Detailing (Refined Pencil Marks)
Now that the structure is set, move to a finer pencil or digital brush. Start defining features—eyes, nose, hands, and fabric folds. Pay attention to line quality, allowing some areas to remain light and loose while others become more defined. This stage should balance between detail and suggestion.
Limb 6: Line Clarity (Clean-Up)
Erase extraneous marks and clarify your lines. Use a slightly darker pencil to retrace the key lines, focusing on clean contours and distinct outlines. This phase is about precision, so take your time to refine shapes and solidify the composition.
Limb 7: Inking (Finalization)
Switch to ink or a digital inking brush. Carefully trace over your refined pencil lines, emphasizing line weight to suggest volume and depth. Vary the thickness of your lines to add character—thicker for shadows and thinner for highlights. Be intentional with each stroke to maintain the fluidity established earlier.
Limb 8: Presentation (Ready for Color)
Once the ink has dried or your digital file is saved, step back and assess the final linework. Clean up any stray marks and enhance key details. Your illustration should now be a clear, inked piece that is prepared for coloring, whether traditionally or digitally.

Tips for the Journey
- Stay Loose Early On: Overcommitting to details too soon can make your figure feel stiff.
- Observe Reference: Use photos or live models to ensure anatomical accuracy.
- Trust the Process: Each limb builds upon the previous one, so allow your sketch to evolve naturally.
- Practice Regularly: The more you integrate these steps, the more intuitive they become.
Final Thoughts
Following the “8 Limbs of Sketchbooking” approach brings a structured yet flexible method to figure drawing. Whether you’re a beginner or refining your style, embracing this progression will help you develop dynamic, confident illustrations. Practice, explore, and enjoy the creative process!