I offer a big hello to you readers and congratulations for getting to Friday and creating what you have up ‘til now.
By now, your characters should be cast, your story’s are likely mapped, and your world is starting to take shape. You’ve got the tools, the tone, and the tension brewing. Now it’s time to bring it all together on the page—where the action truly lives and breathes.
This is Page 5: Layout Lab—where your figure drawing meets panel composition, and emotional storytelling flows from gesture to gesture, beat by beat.
⚙️ Why Panel Layout is Your Story’s Pulse
Think of each page like a stage, each panel like a spotlight. The way your characters move across those frames—their rhythm, posture, and energy—guides the reader’s eye and emotional experience.
A stiff page reads flat.
A fluid page feels alive.
Your job? Build a layout that lets figures tell the story before any word is read.
🧠 The 3 Core Principles of the Layout Lab
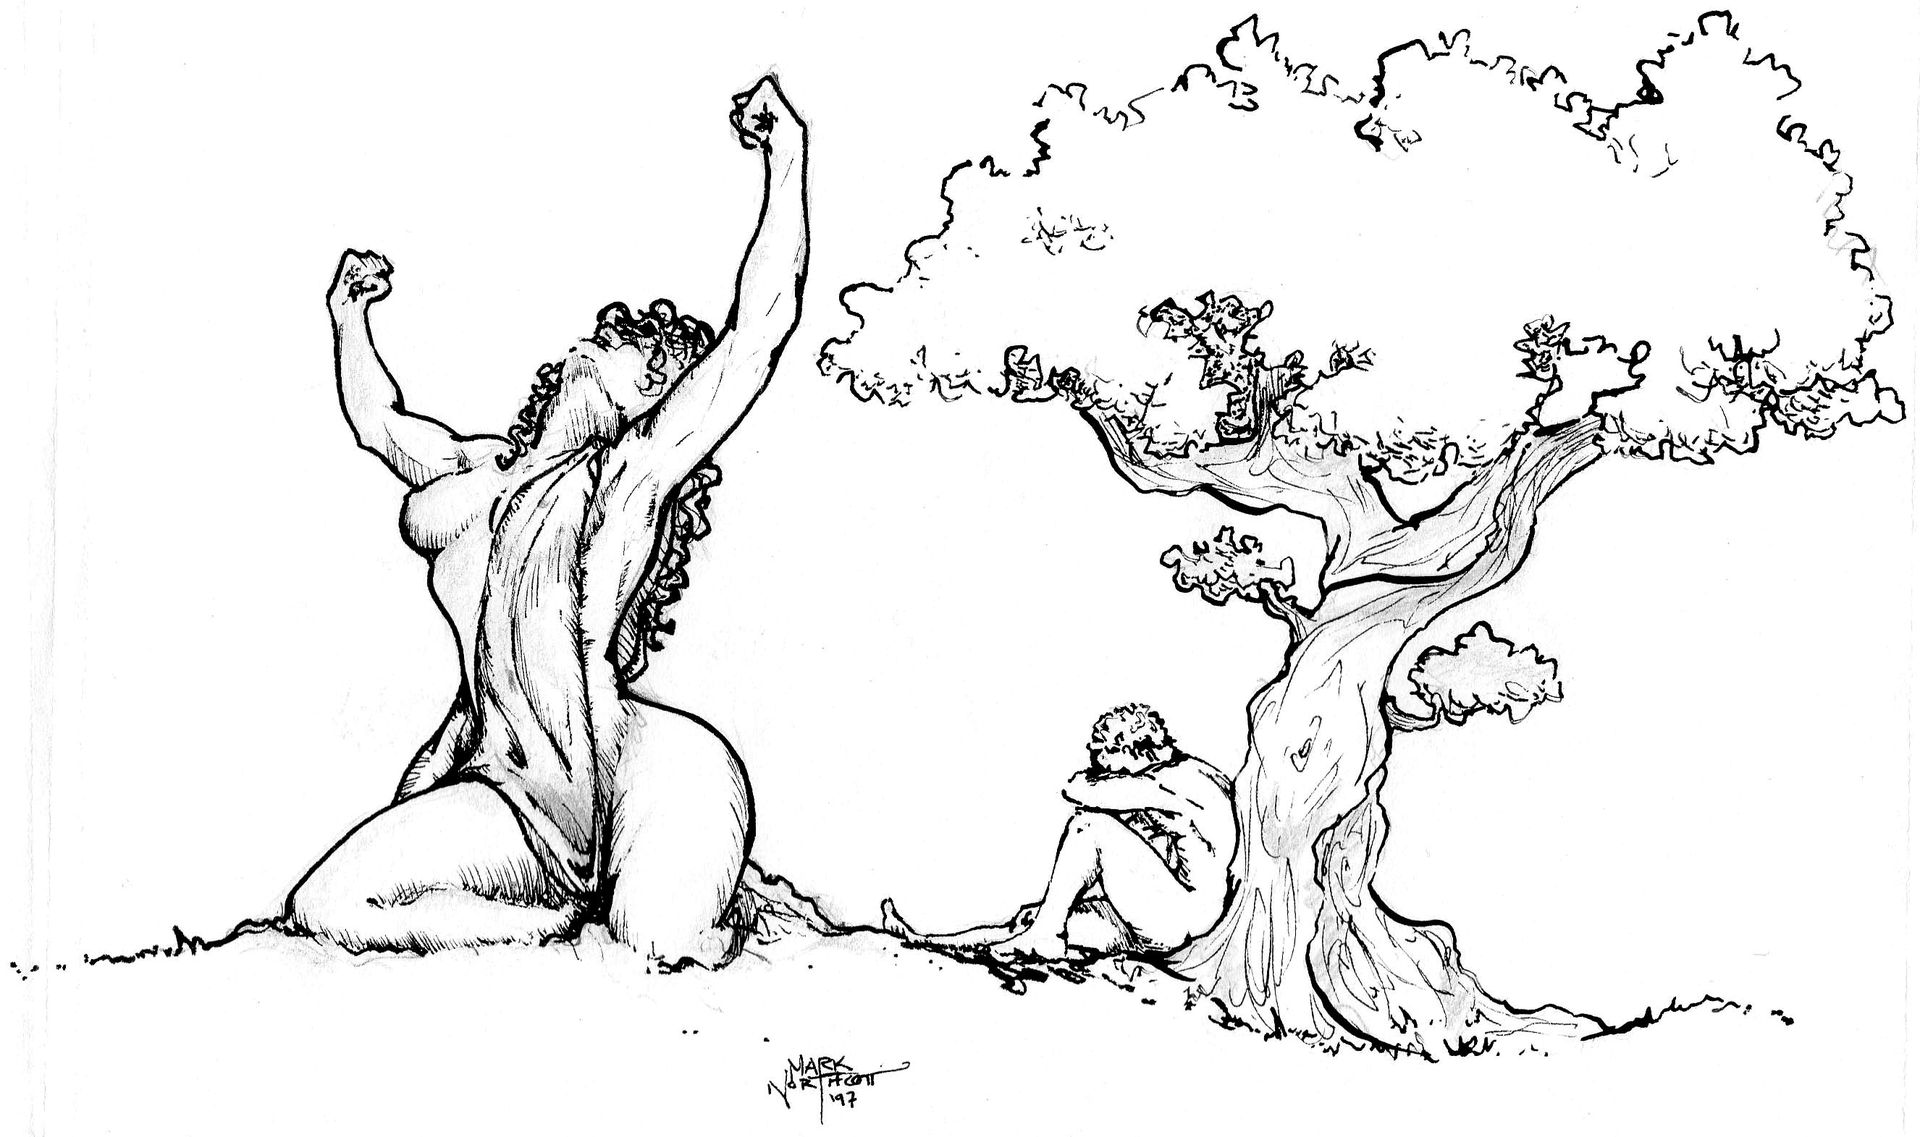
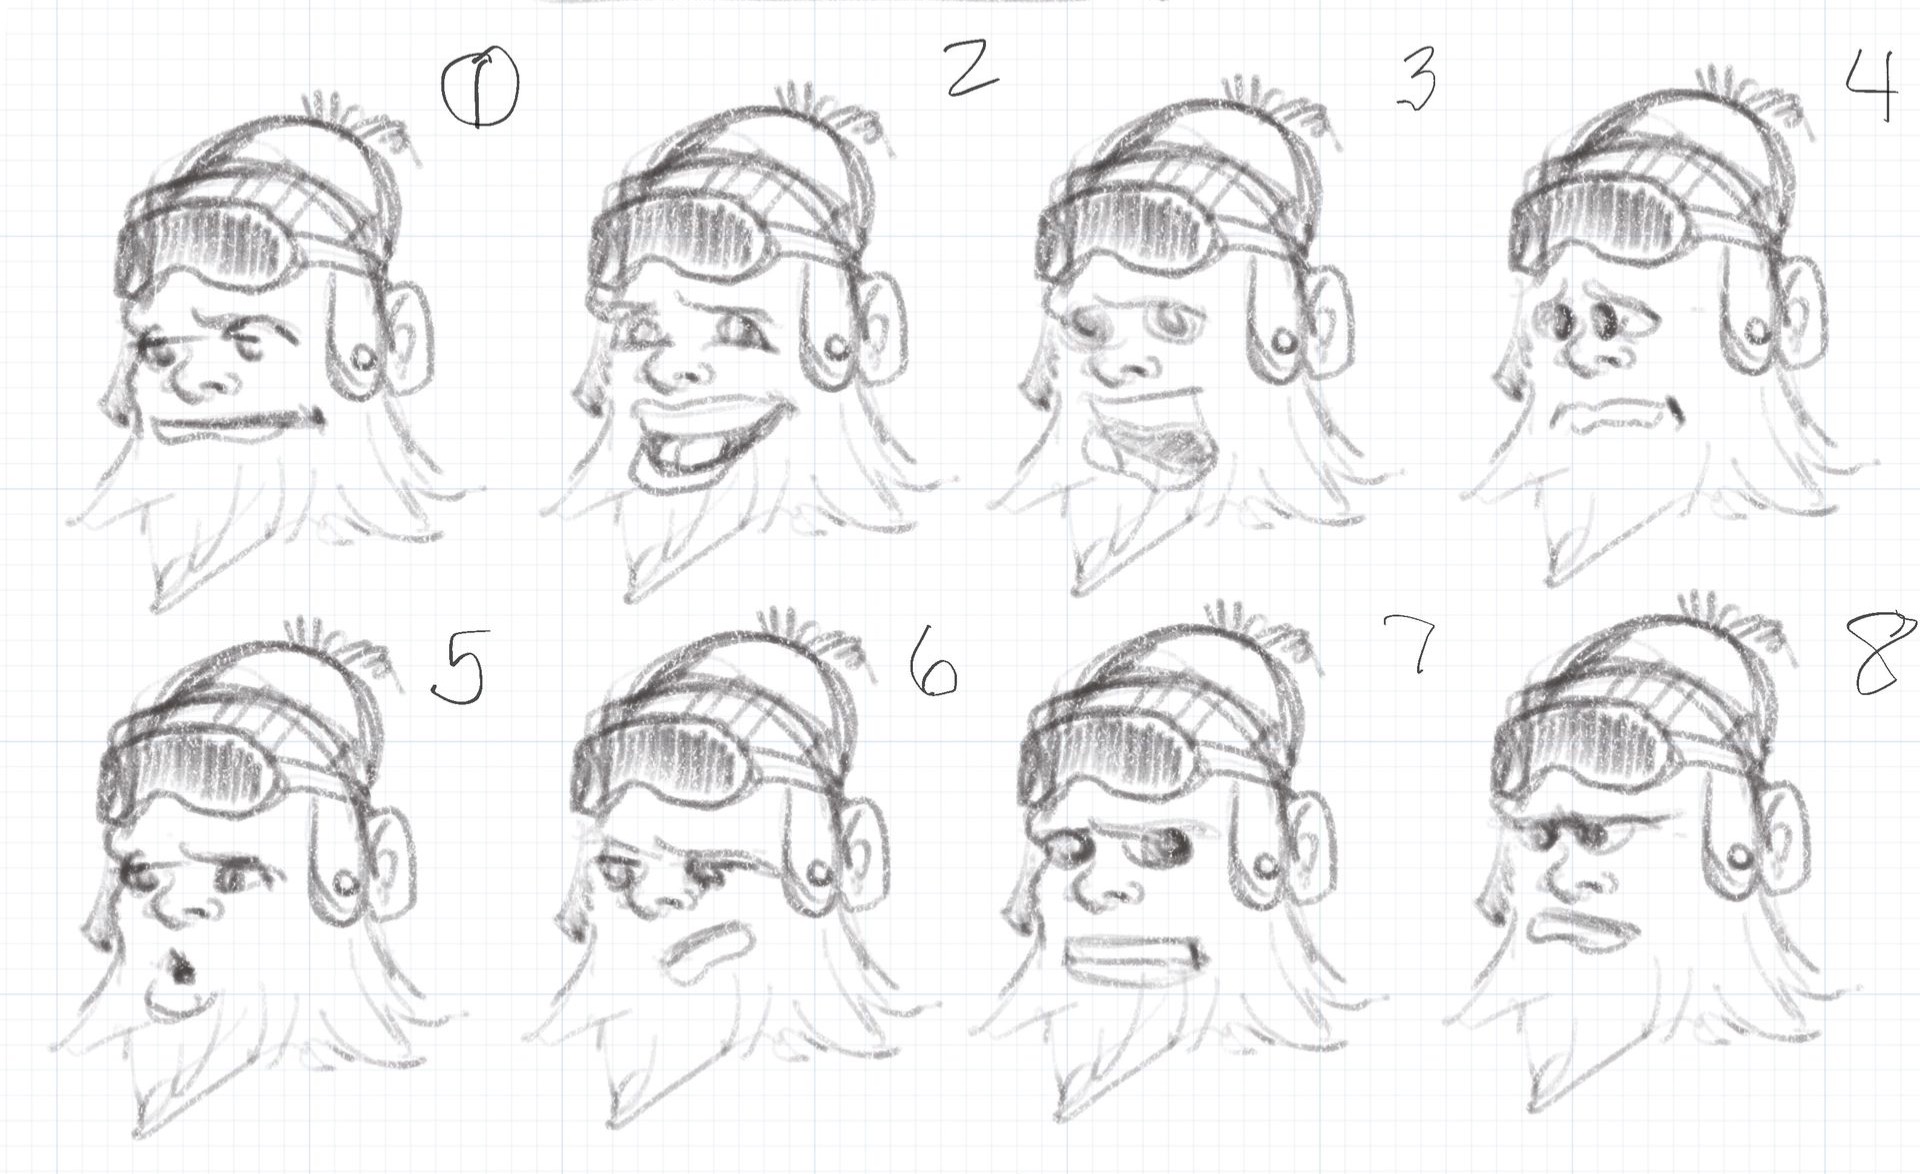
1. Gesture is Everything
A good pose is a story in itself. Use quick, dynamic sketches to explore movement. Don’t worry about perfect anatomy—capture the energy.
Try this: Draw your character standing, walking, jumping, slouching, or reacting to an emotional beat in just 30 seconds each. These “figure gesture blasts” make layouts feel alive later.
2. Emotion Drives Timing
Panel size and shape affect emotional weight:
- Small, fast panels = tension, urgency, panic
- Wide horizontal panels = calm, scenic, meditative
- Tall vertical panels = awe, isolation, power
Let the emotion of the moment guide your page layout.
3. Sequence is Meaning
A layout isn’t just about pretty arrangement—it’s about what the reader sees first, then next, then last. Use contrast, white space, and silhouette to guide the eye naturally.
🛠️ How-To: Sketch Your Own Layout Page
1. Choose a Scene from Your Story Map
Pick one strong emotional moment—conflict, choice, revelation.
2. Thumbnail Three Page Layout Variations
On a single sketchbook spread, draw 3 quick layout concepts:
- Panel shapes and order
- Action flow (draw arrows for eye movement)
- Figure gesture placement only—no detail needed
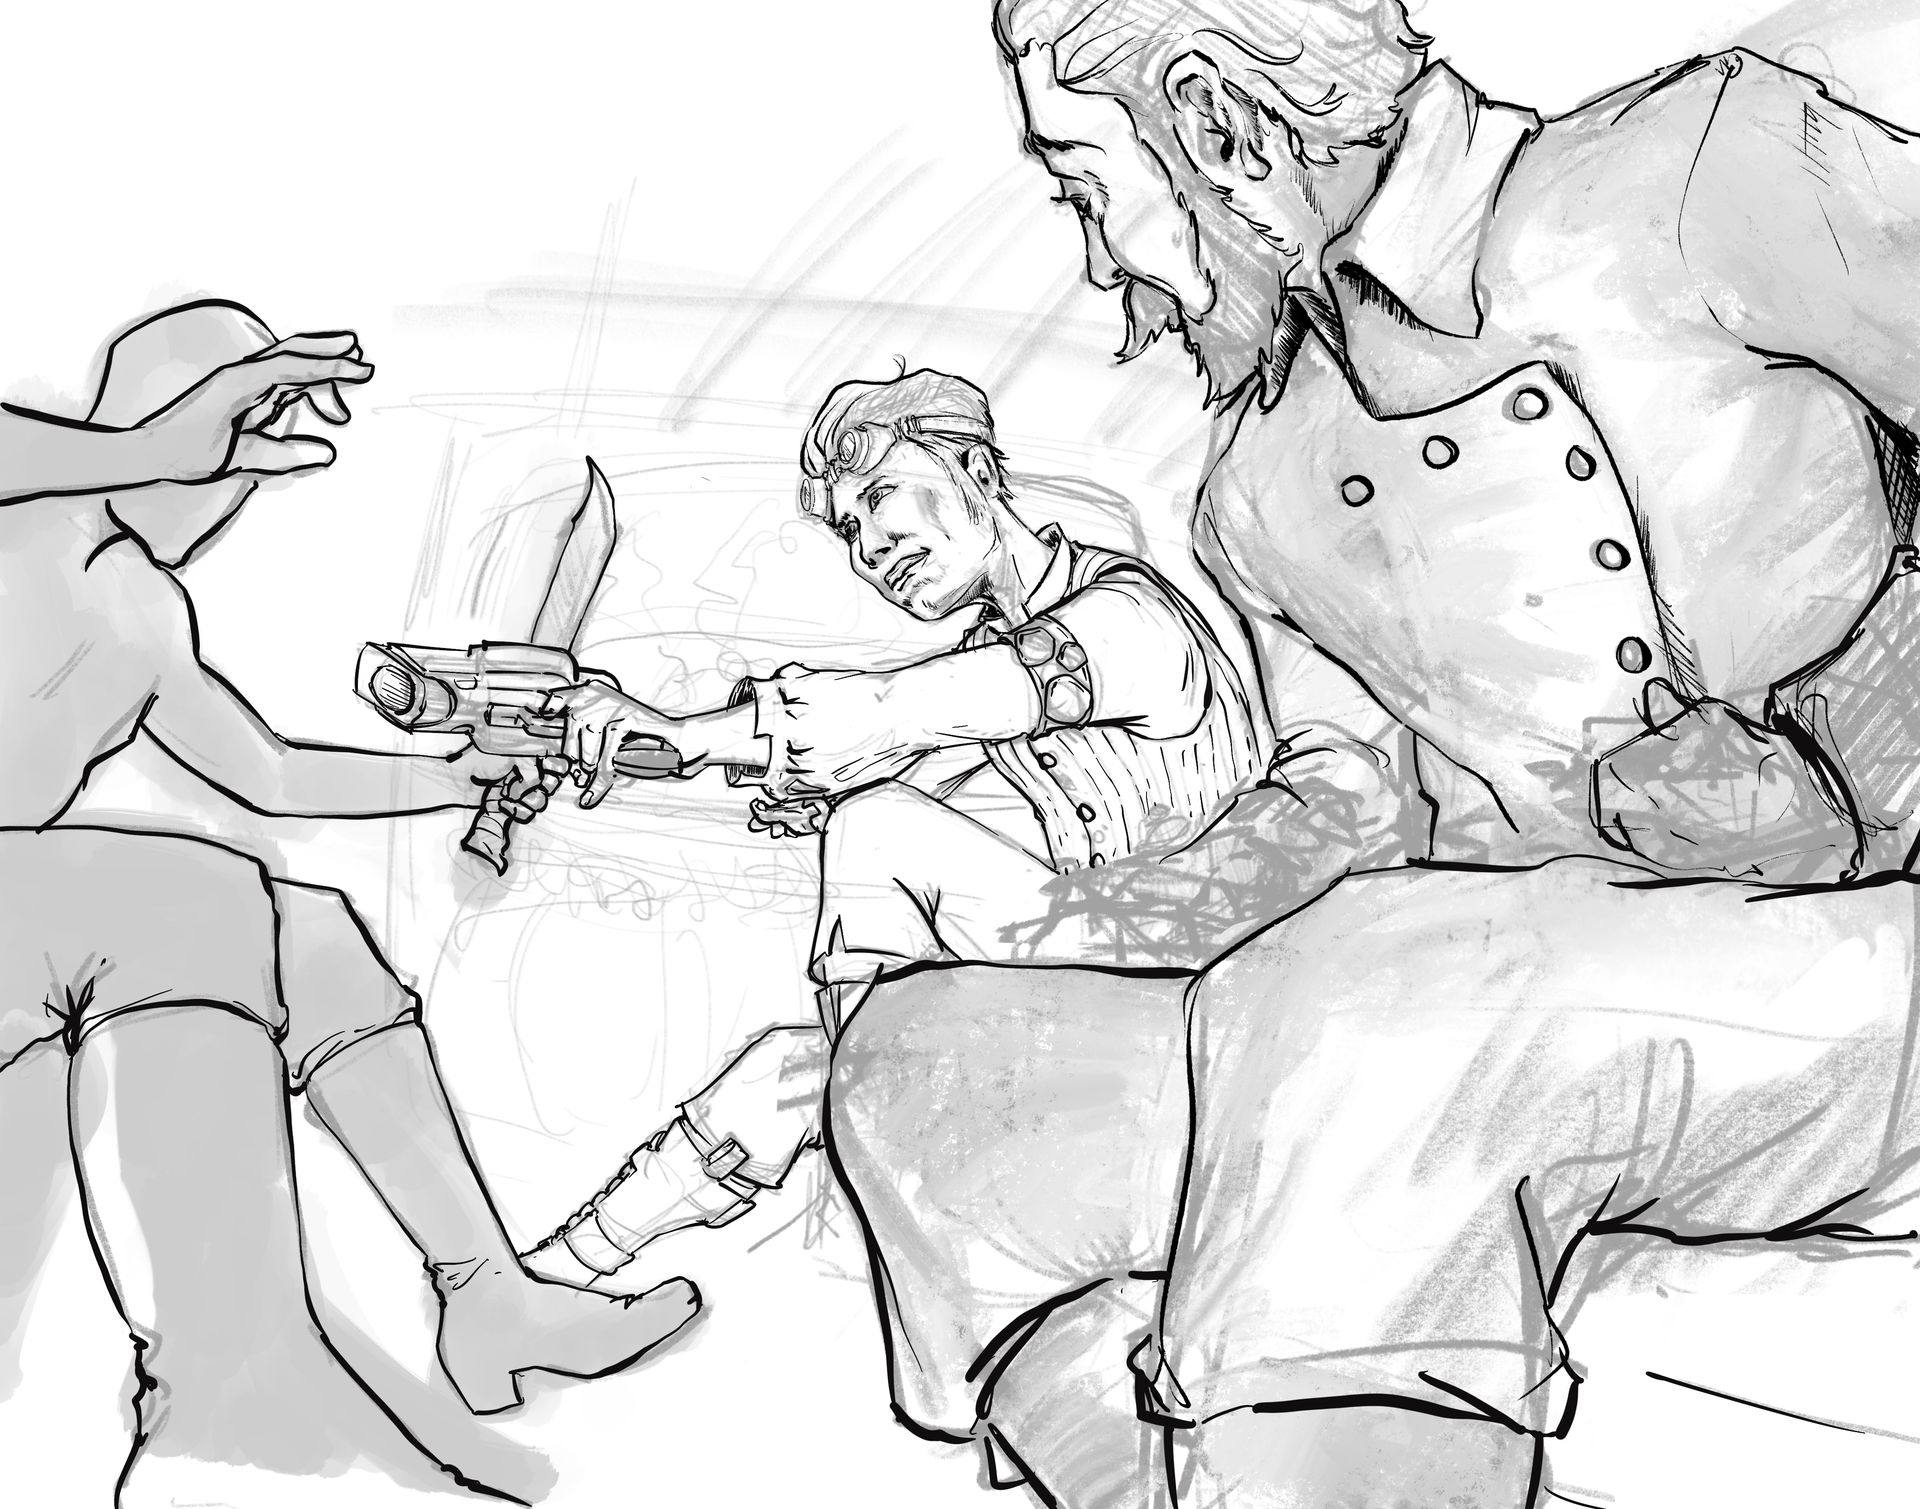
3. Test the Flow with a Figure Strip
Below your thumbnails, do a mini “figure strip”—a sequence of 3–5 gesture drawings showing the character’s movement across time.
Think:
- Reach > hesitation > resolve
- Fall > recovery > realization
- Glance > pause > reaction
You’re capturing emotional timing through the body, not just the face.
✨ Layout is Where the Magic Shows Up
Your manga isn’t just about drawing a cool pose—it’s about orchestrating movement and emotion in a visible rhythm. The Layout Lab lets you test, explore, and feel the scene before it’s inked.
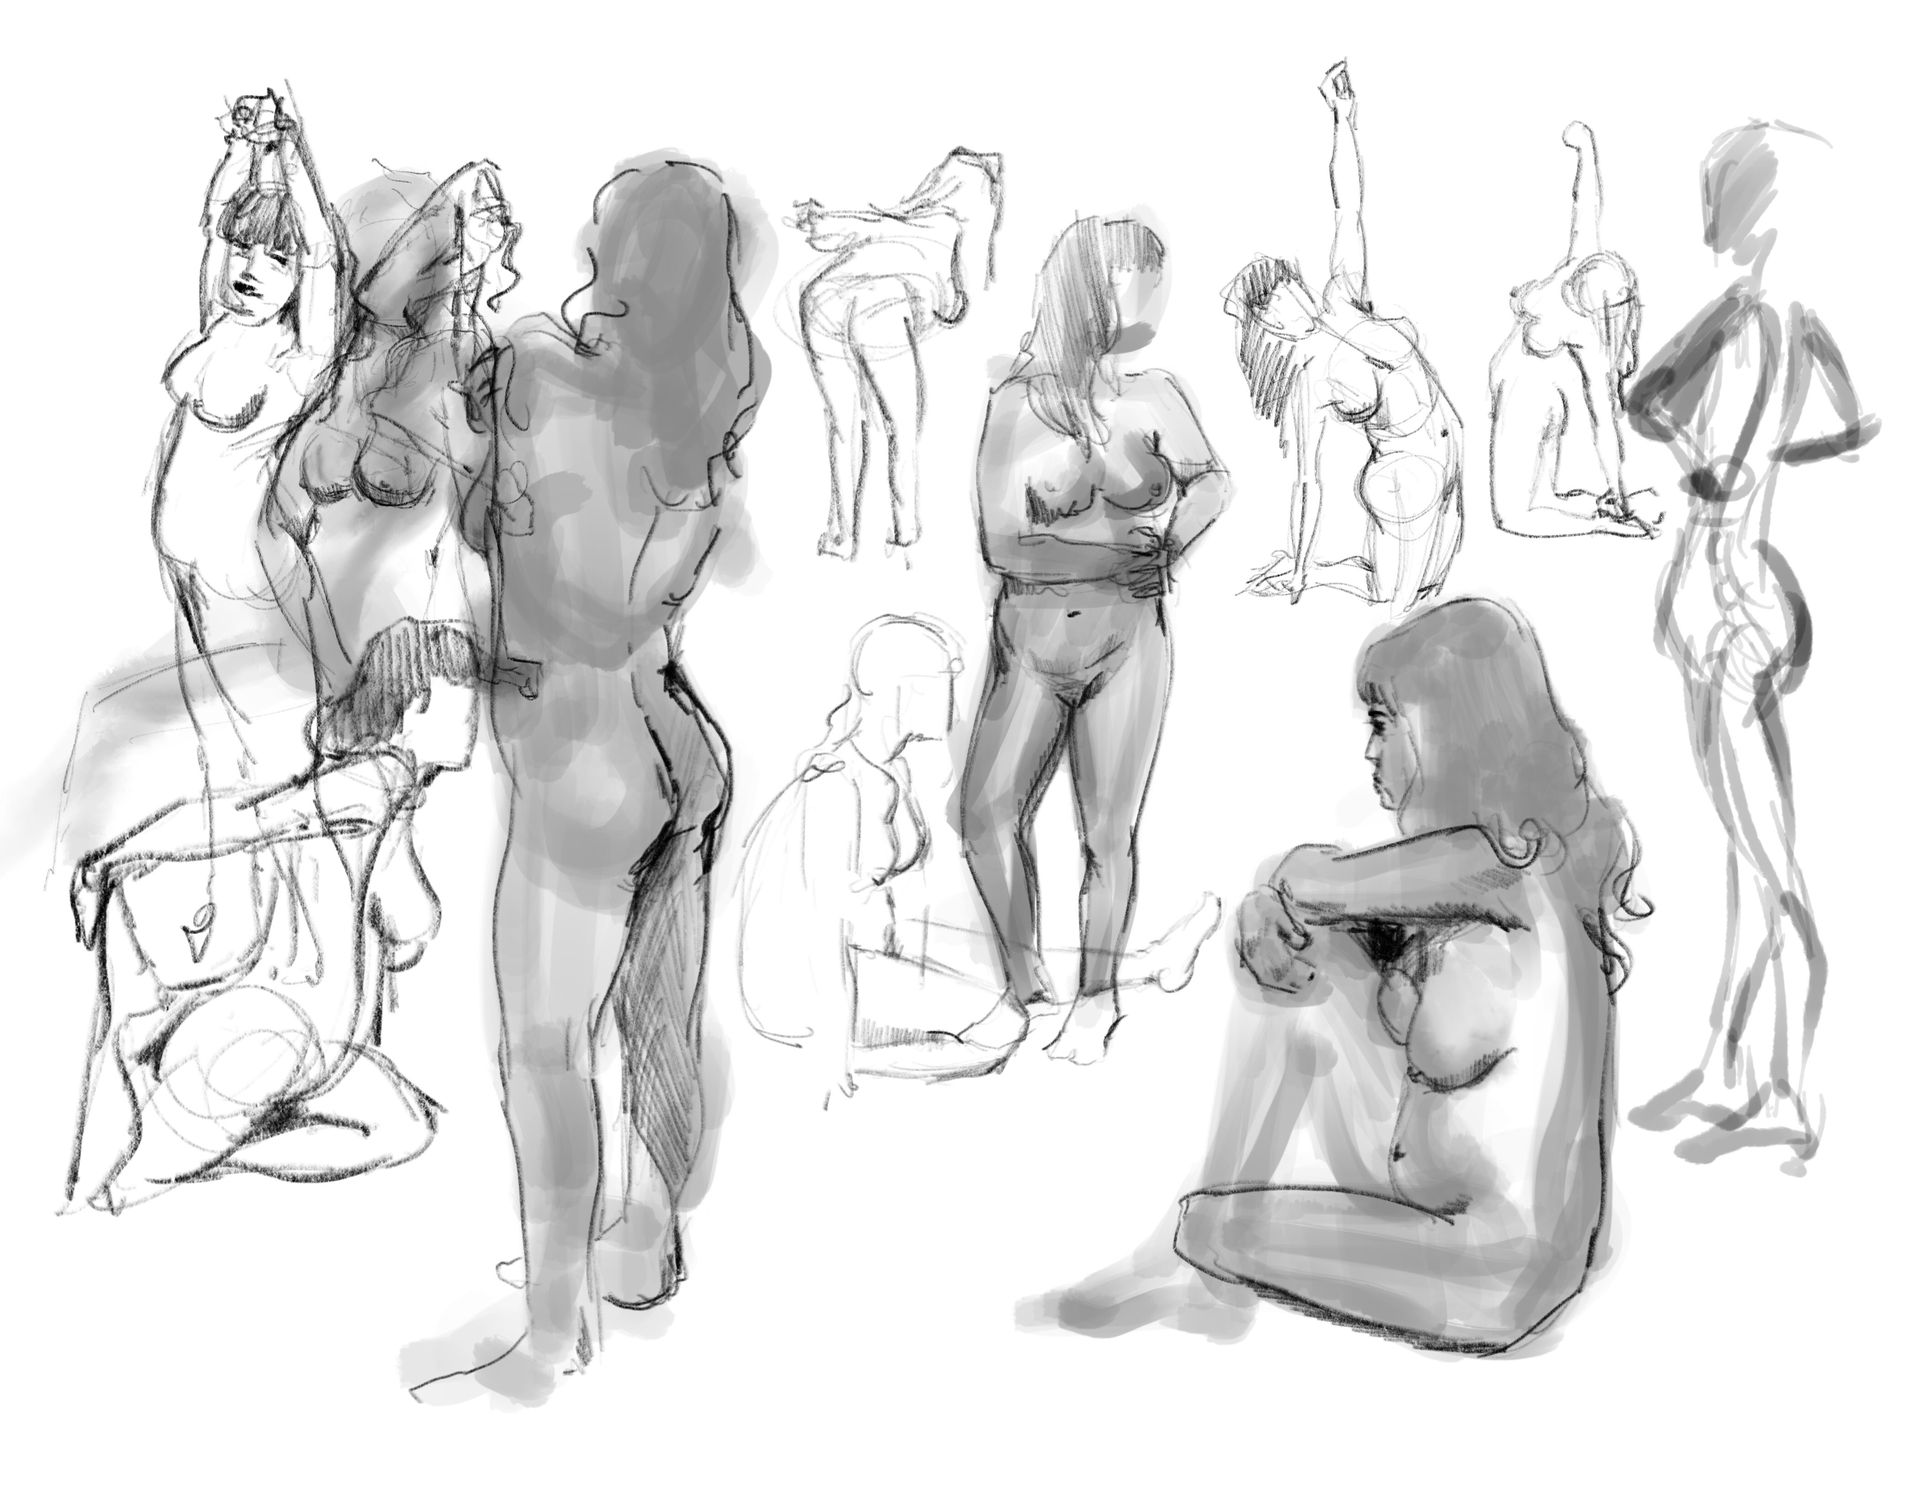
Bonus Warm-Up: Gesture Grid
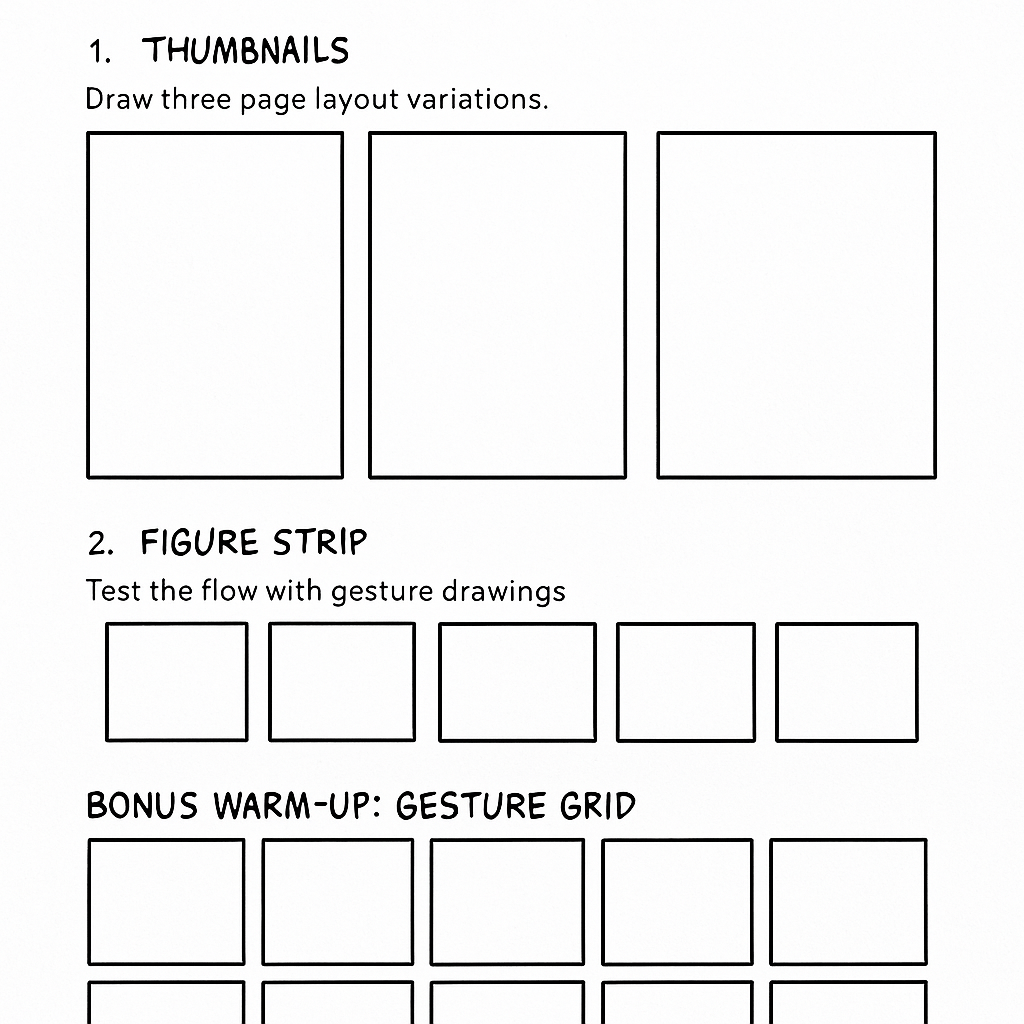
Draw a 3x3 grid or something like the photo above in your sketchbook and fill each square with a different emotional posture:
- Confident
- Lonely
- Sneaky
- Frustrated
- Overjoyed
- Curious
- Defensive
- Playful
- Resigned
This becomes your emotions reference board—super helpful for future layouts. Heck, I did this using the Concepts app one afternoon for a project I’m currently working on! It’s a great tool!
Coming Up Next: The Final Three Pages
Next week, we’ll dive into:
Page 6: Style Sync – Defining your manga’s look
Page 7: Production Prep – Gearing up to create consistently
Page 8: Final Vision Frame – Summarizing your concept with a splash
You’re so close to holding your manga concept in full view. Stick with it, one page at a time!